
In the world of home improvement and interior design, floating shelves have become a popular choice for modern homeowners. Not only do they provide functional storage, but they also add a touch of elegance and sophistication to any room. The great thing about floating shelves is that they appear to be magically clinging to the wall without any visible support. While they can be purchased ready-made, building your own floating shelves is a rewarding DIY project that allows you to customize them to your preferred size, style, and finish. In this guide, I’ll walk you through the process of constructing your own floating shelves, from planning to installation.
Planning Your Floating Shelves
Before you embark on this DIY project, you’ll need to plan carefully. First, consider where you want to install the shelves. Measure the available space to ensure your shelves fit perfectly. Consider their purpose too—will they hold heavy books, decorative items, kitchen spices, or bathroom essentials? Understanding the purpose will help you select the right materials and design.
Materials Needed:
1. Wood: For durability and aesthetics, select quality wood like pine, oak, or walnut. You’ll need planks for the shelf itself and wood strips for internal supports.
2. Mounting Hardware: This includes brackets, screws, and anchors. Make sure they are sturdy enough to hold the weight of the shelf and its contents.
3. Wood Glue: Provides additional support.
4. Finish: Choose paint, stain, or sealant to match your home’s decor.
Tools Needed:
1. Saw: To cut the wood to size.
2. Drill: For creating holes and securing brackets.
3. Level: Ensures your shelves aren’t tilted.
4. Measuring Tape: For precise measurements.
5. Screwdriver: To attach the screws.
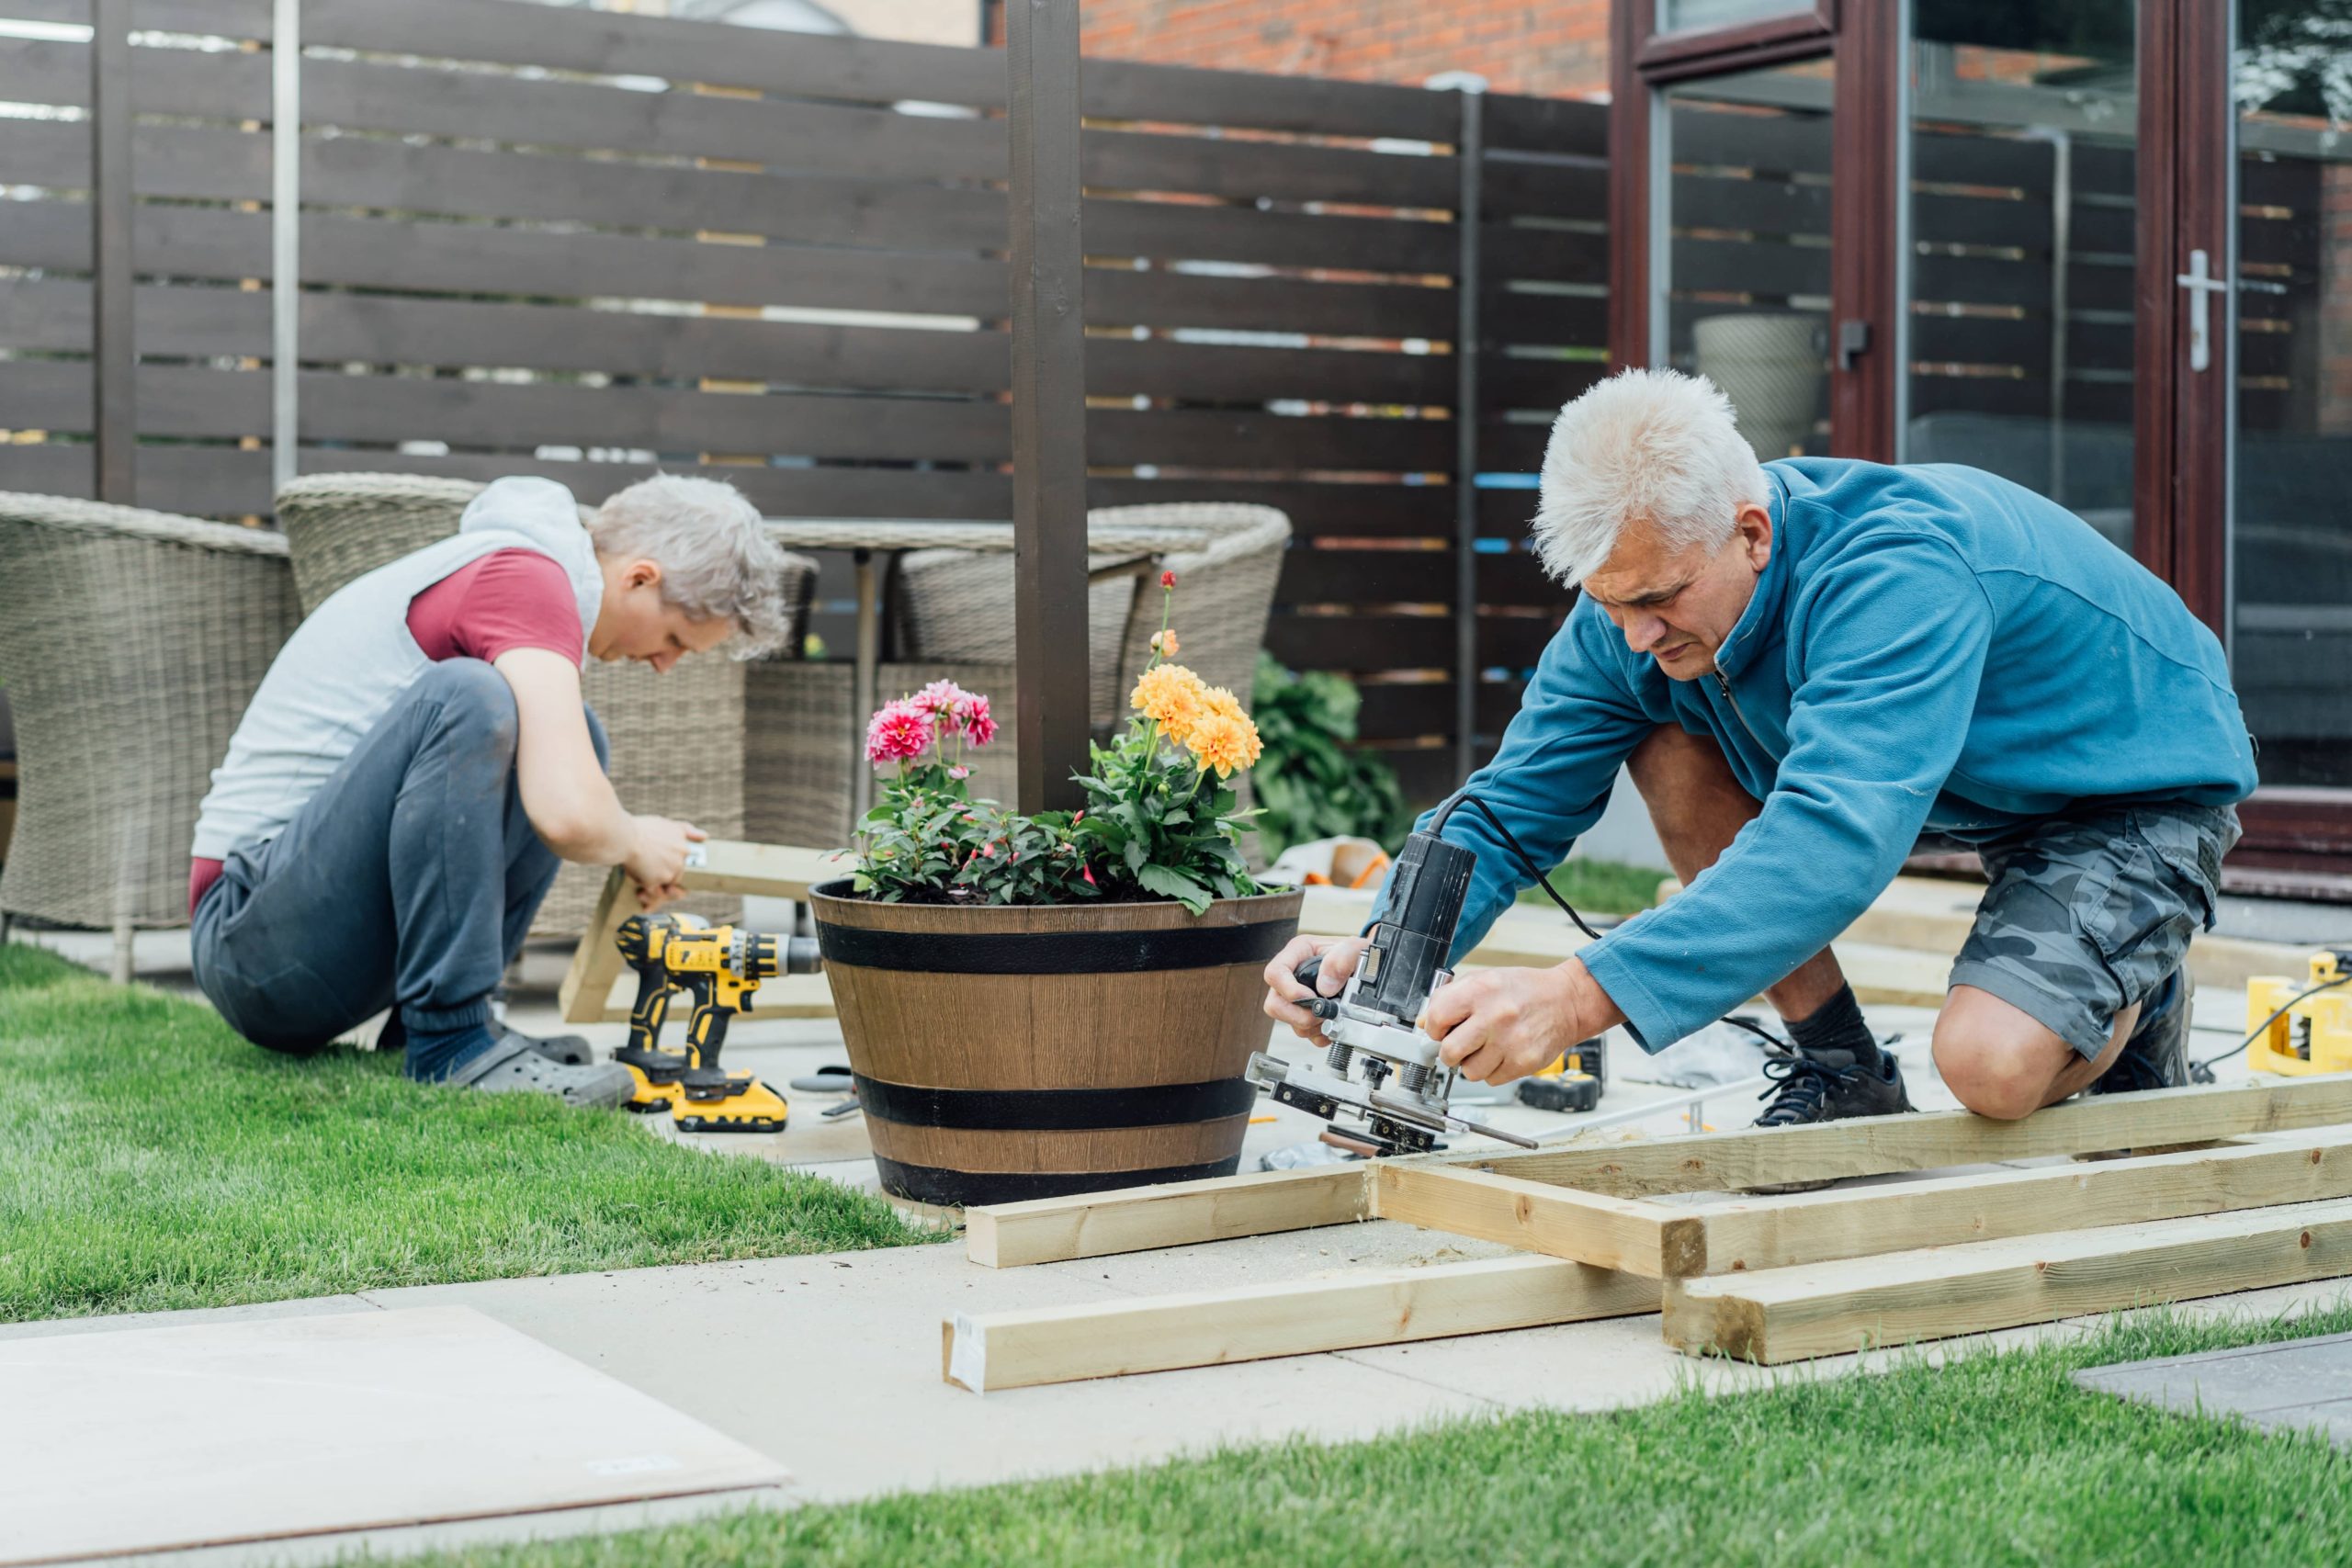
Building the Shelves
Once you have your materials and tools ready, it’s time to build the shelves.
Step 1: Cutting the Wood
Start by cutting your wood to the desired shelf size. Typically, floating shelves are about 2 to 3 inches thick and can be as long or as short as you need. If you’re planning for multiple shelves, make consistent cuts to ensure uniformity across all pieces.
Step 2: Creating the Support Structure
The secret behind floating shelves is their hidden support structure. To create this, you’ll need to design a hollow box that slips over a mounted bracket.
1. Cut the Wood Strips: Use your saw to cut smaller wood strips, which will be the frame attached to the wall. This frame will slide into the hollow compartment of your shelf.
2. Assemble the Brace: Construct a rectangular frame, ensuring it’s smaller than the shelf itself so it will be hidden. Reinforce the corners with wood glue and screws.
Step 3: Assembling the Shelf
Now, you’ll assemble the shelf that will attach to this brace:
1. Create a rectangular box using the wooden planks. Secure each corner and edge with wood glue and nails, leaving one side open. This will allow the shelf to fit onto the wall-mounted brace.
2. Sand down the edges for a smooth finish.
3. Paint or stain your shelf in your chosen color and finish. Allow it to dry thoroughly.
Installing the Shelves
With your shelves crafted and finished, it’s time to mount them on the wall.
Step 1: Locate the Wall Studs
Use a stud finder to locate the studs within your wall. Mounting directly into studs ensures the shelves can support more weight. If studs aren’t available in your preferred location, use appropriate wall anchors for support.
Step 2: Secure the Brace
Position the brace on the wall at the desired height. Use a level to ensure it’s perfectly horizontal before drilling the pilot holes and attaching it with screws to the wall studs or anchors.
Step 3: Attach the Shelf
Slide the hollow shelf box over the mounted brace. You can secure it with a few discreet screws at the top or sides. Ensure everything is snug and stable before loading up your new shelf with items.
Styling Your Floating Shelves
Now that your floating shelves are securely mounted, it’s time to style them. Consider the following tips for an aesthetically pleasing arrangement:
– Balance: Mix a variety of items on each shelf to create visual interest. Combine books, photos, plants, and decorative objects.
– Spacing: Leave some space between items to prevent a cluttered look. Less is often more when it comes to a clean and modern aesthetic.
– Theme: Use colors and themes that blend with the room. This helps your floating shelves complement the interior without overwhelming it.
Conclusion
Building your own floating shelves may seem daunting at first, but breaking it down into steps makes it a manageable DIY project. Not only do these shelves save money compared to buying pre-made ones, but they also add a customized touch to your home. As you spend time measuring, cutting, assembling, and installing, you’ll find that creating something with your own hands can be both satisfying and fun. Whether you’re sprucing up your living room, kitchen, or bathroom, floating shelves offer a versatile solution that combines style and functionality. So go ahead—unleash your creativity and transform your space with the magic of DIY floating shelves!


