
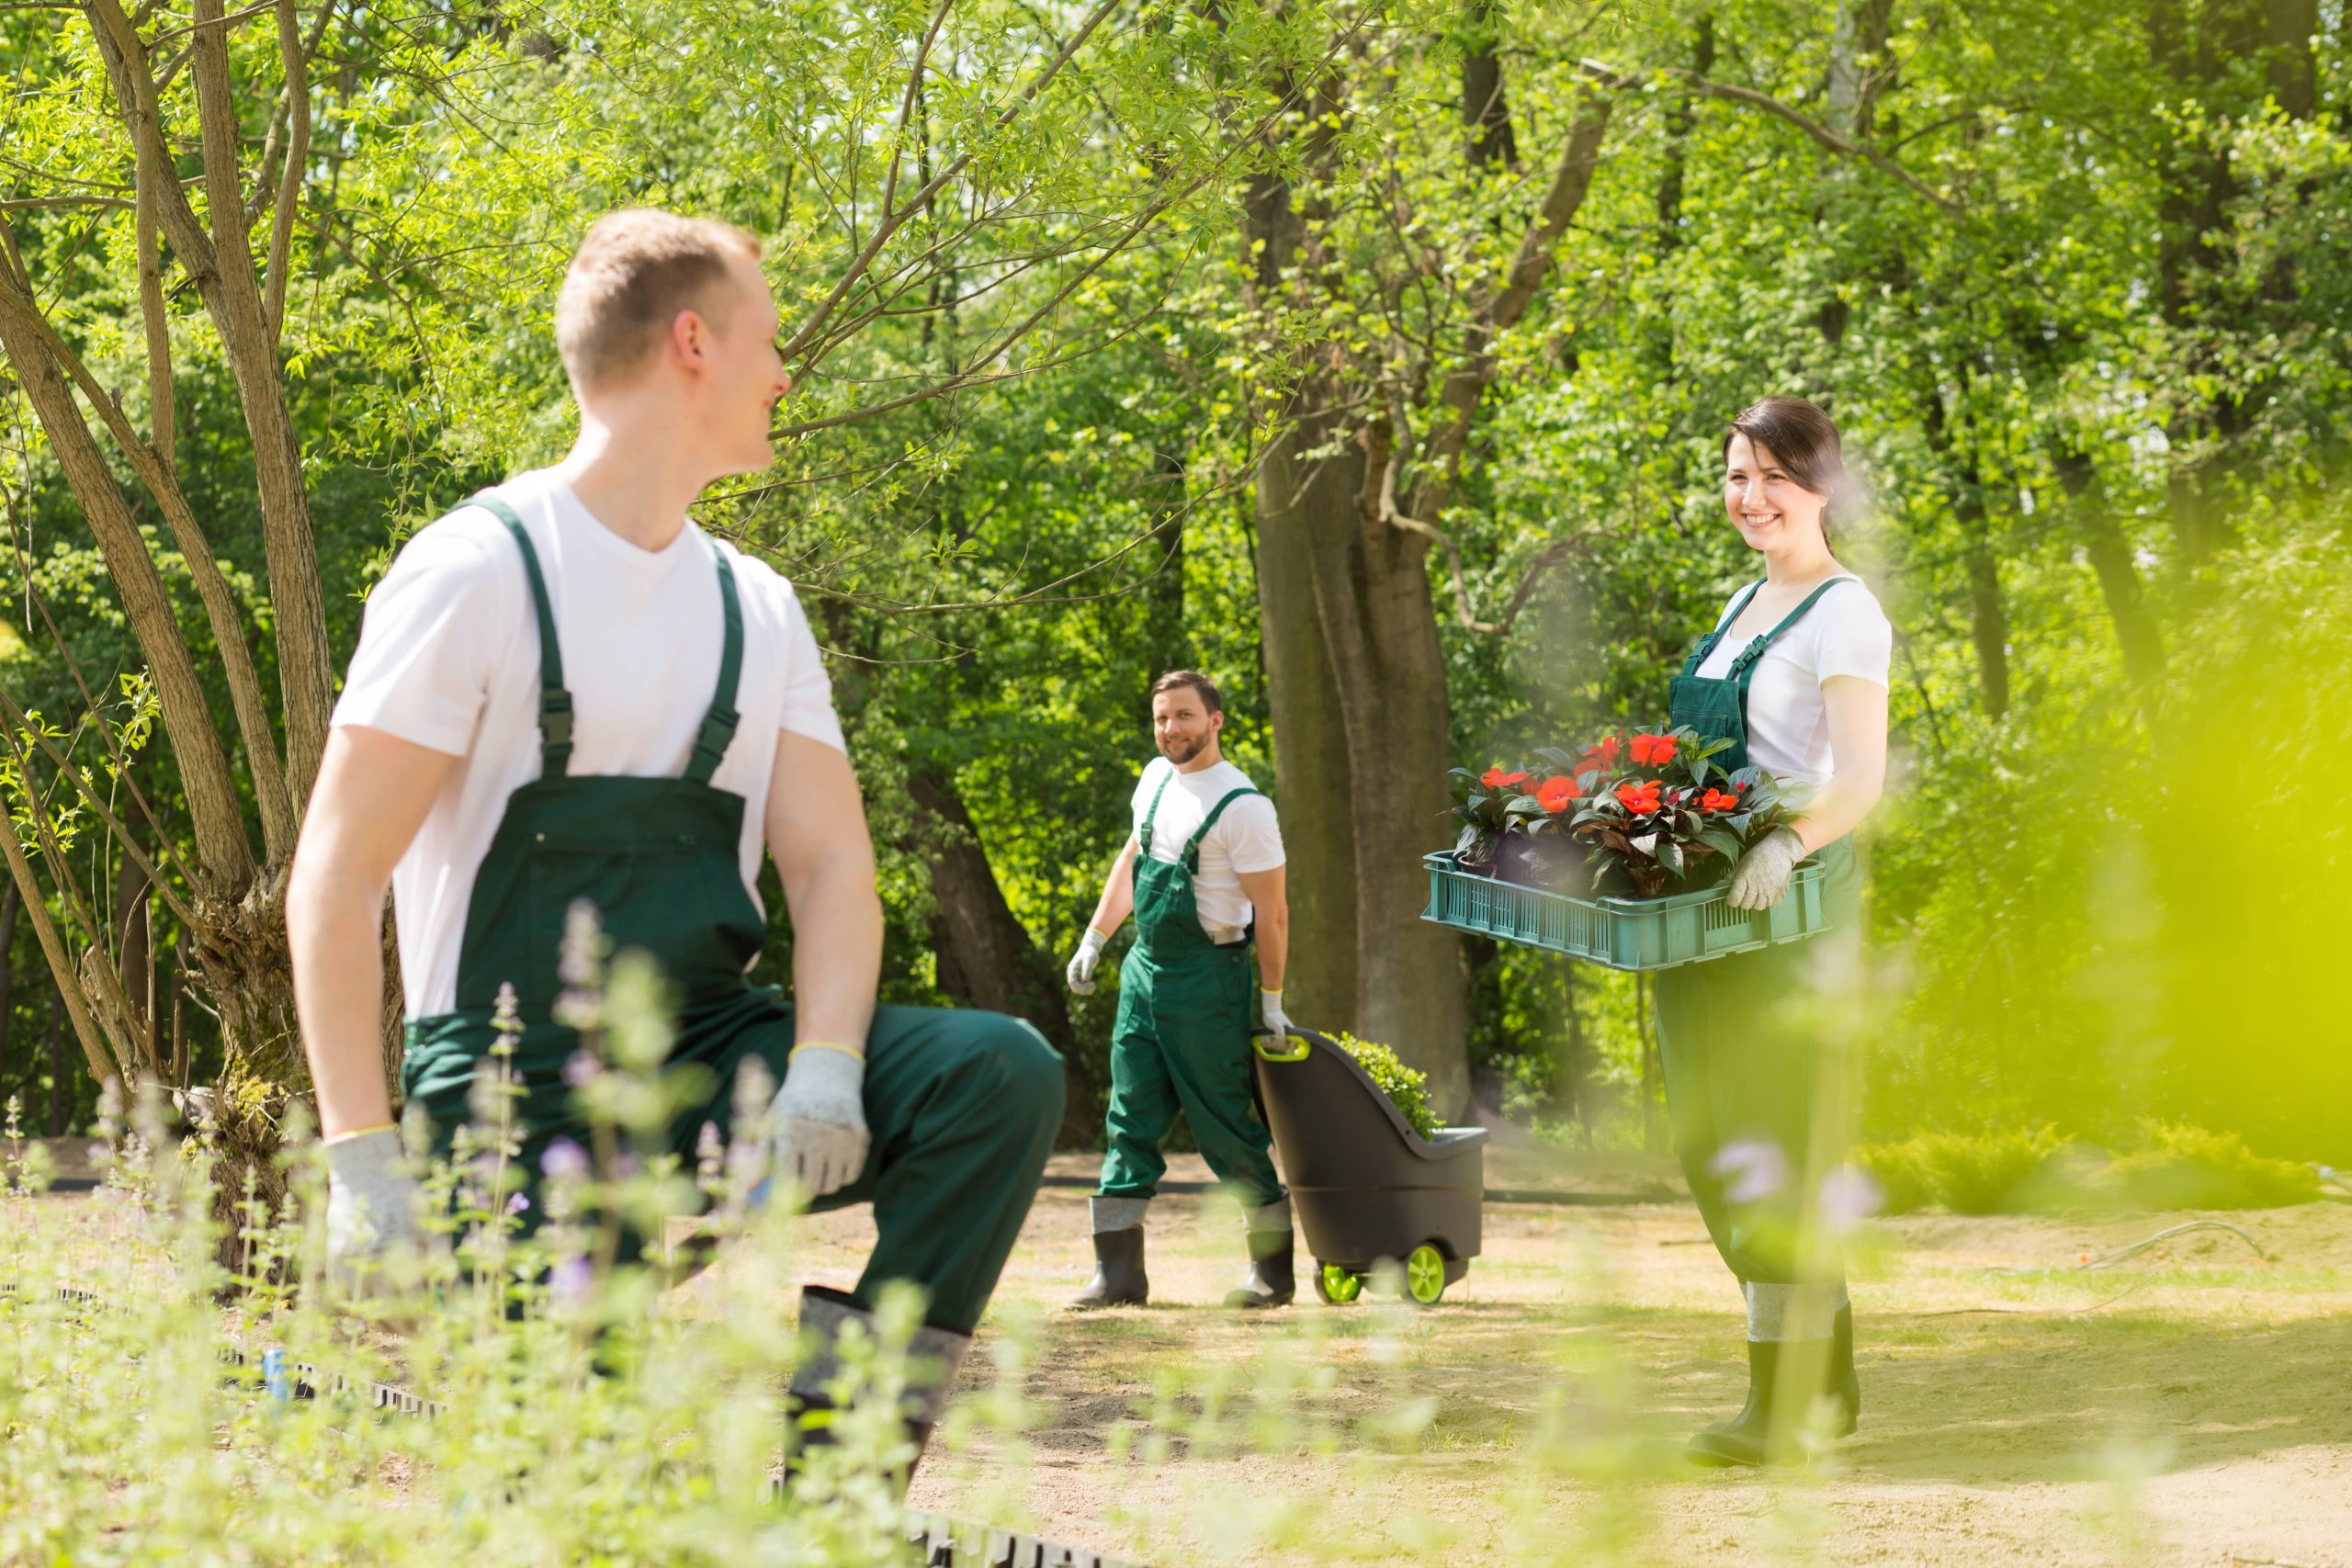
In the world of outdoor gardening and landscaping, there’s nothing quite like the satisfaction of creating a lush, thriving garden. A big part of that success comes from the nutrients you deliver to your plants. While fertilizers are a common go-to for many, there’s a more sustainable, eco-friendly, and cost-effective option – composting. Creating your own compost bin is not just straightforward; it’s an enriching experience that can connect you more deeply with your garden.
Why Compost?
Before diving into the creation of your compost bin, it’s important to understand why composting is so beneficial. Composting is nature’s way of recycling. It’s a process that involves the breakdown of organic material into a nutrient-rich soil amendment known as compost. Here are a few compelling reasons to start composting:
1. Reduces Landfill Waste: A significant portion of the waste sent to landfills is organic matter, which could easily be composted. By composting at home, you divert waste away from landfills, reducing methane emissions and making a positive environmental impact.
2. Enriches Soil: Compost is often referred to as “black gold” due to its ability to enrich soil, improve moisture retention, and support the robust growth of plants.
3. Cost-Effective: Instead of spending money on commercial fertilizers, compost provides a free alternative that is gentle on your garden and easy on your wallet.
4. Encourages Sustainability: Composting is a sustainable practice that helps you be more conscious of your consumption and waste.
Getting Started: Choosing a Compost Bin
The first step in creating your compost pile is deciding on the type of bin. You have several options depending on your needs, space, and budget.
1. Store-Bought Bins: These are typically made from durable plastic or metal and come in various sizes. They are a convenient option if you’re looking for something ready-to-use.
2. DIY Wooden Bins: If you’re handy, building a wooden compost bin is a fantastic project. Pallets or recycled wood can be assembled into a sturdy frame that blends naturally into your garden.
3. Wire Bins: Wire compost bins use simple wire fencing formed into a circle or square. They’re inexpensive and allow great airflow – a critical component for effective composting.
4. Tumbler Bins: For those who prefer minimal effort, a rotating tumbler bin can make turning your compost as easy as spinning a handle. This design also speeds up the decomposition process.
5. No Bin (Pile): If simplicity is your style, composting in a simple pile is effective and can be turned with a pitchfork or shovel.
Setting Up Your Compost Bin
Once you’ve chosen your bin type, it’s time to set it up. Select a location in your garden that’s convenient yet out of the way, ideally in a partially shaded area to avoid excessive drying out. Follow these steps to get your compost bin started:
1. Layering: Start by adding a layer of coarse materials like twigs or straw at the bottom to aid drainage and aeration.
2. Add Greens and Browns: Balance is key in a compost bin. Greens (nitrogen-rich materials) include grass clippings, vegetable scraps, and coffee grounds. Browns (carbon-rich materials) include dead leaves, shredded newspaper, and cardboard. Aim for a rough ratio of 2:1, browns to greens.
3. Maintain Moisture: Like a sponge, your compost should be moist but not soaking wet. If it’s too dry, decomposition slows. Too wet, and it becomes smelly and a haven for pests.
4. Turn Regularly: Every couple of weeks, turn your compost. This process aerates it, allowing oxygen to speed up decomposition.
5. Give It Time: Depending on conditions, compost can take a few months to a year to form. Your patience will be rewarded with nutrient-rich material.
Troubleshooting Common Composting Issues
While composting is generally a straightforward process, you may encounter some problems. Here are solutions to common issues:
– Bad Odors: Usually caused by too much moisture or green material. Remedy this by adding more browns and turning the pile regularly.
– Compost Pile Not Heating Up: This could indicate lack of greens or too much aeration. Add more nitrogen-rich greens and ensure the pile stays damp.
– Pests in the Compost: Avoid adding meats, dairy, or fatty foods which attract pests. Ensure your pile is properly covered.
Enjoy the Fruits (and Veggies) of Your Labor
As you continue to layer, turn, and tend to your compost, you’ll soon have rich, dark compost to use in your garden. Use it to improve soil structure, boost plant growth, or even as a top dressing for your lawn. Not only will your garden flourish, but you’ll also have the satisfaction of contributing to sustainability, reducing your carbon footprint, and nurturing the cycle of growth and renewal in your own backyard.
Creating your own compost bin is easy and immensely rewarding. Start today, and watch your garden thrive as a result of the organic nutrients you’ve harvested from your own kitchen and garden waste. Happy composting!


